REVIEW · JAIPUR
Print your own fabric
Book on Viator →Operated by Gaurav Kapoor · Bookable on Viator
In This Review
- Block-Printing Your Own Scarf in Jaipur
- Key Highlights You’ll Care About
- Printing Your Own Scarf in Jaipur’s Block-Printing Style
- From Wooden Block to Final Pattern: What the Workshop Actually Covers
- Step 1: Carving the design on wood (the stamp becomes the tool)
- Step 2: Preparing the fabric for printing
- Step 3: The printing process (the part you’ll do yourself)
- Color Making in Plain Steps: Natural Dyes You Can Understand
- Your Hands on the Blocks: Designing a Scarf That Looks Like You
- What you’ll likely do during your hands-on session
- A small practical tip: don’t aim for perfection on the first stamp
- Timing, Meeting Point, and How to Fit It Into Your Jaipur Day
- Getting there
- Price and Value: $36.29 for a Real Craft Outcome
- Who This Workshop Best Suits (And Who Might Want to Skip It)
- Practical Tips for Getting the Best Result
- Should You Book This Block-Printing Workshop in Jaipur?
- FAQ
- What will I make during the workshop?
- How long is the block-printing experience?
- Is the activity private?
- What happens during the session?
- Where does the workshop start and end?
- Are there specific time options for the class?
Block-Printing Your Own Scarf in Jaipur
Wood stamps, ink, and instant pride. This hands-on Jaipur workshop teaches traditional block printing from wood carving to color making, then lets you print your own scarf. I loved that the session walks you through each step in order, and I also liked the private attention that keeps you from feeling lost as soon as the stamps go into your hands.
If you’re looking for a short, rewarding craft stop, this one is hard to beat—especially because you take your printed fabric home. A possible consideration: it’s a small, weather-dependent class, so on a rainy day you may need a different time or date.
Key Highlights You’ll Care About

- Full process, from carving to printing: you see how the design becomes a working stamp
- Color making explained, not guessed: you learn how dyes are prepared before printing
- Design and print your own scarf: you’re actively doing the work, not just watching
- Private group = more guidance: instructors can correct your alignment and technique as you go
- You keep what you print: your scarf becomes a real souvenir, not a photo op
You can also read our reviews of more tours and experiences in Jaipur.


Printing Your Own Scarf in Jaipur’s Block-Printing Style
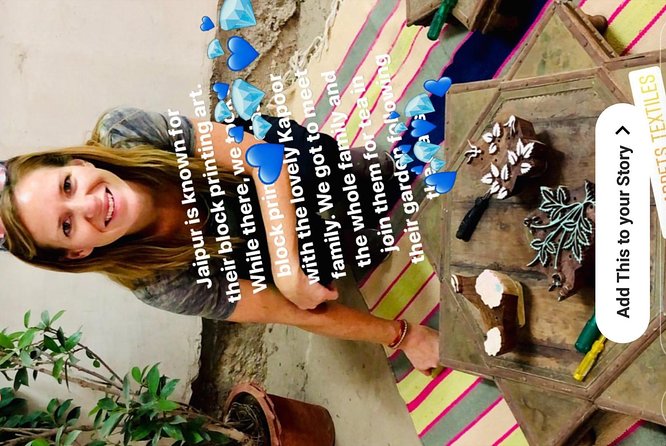
Jaipur has a long reputation for block printing, the kind of craft where art is transferred to cloth using hand-carved wooden stamps. In this workshop, you get the whole storyline, not just the final look of a finished scarf. You start by seeing how the design is carved into wood, then you learn how the fabric is prepared, how colors are made and mixed, and finally you print your own scarf using the blocks and dyes provided.
This is one of those activities that feels simple at first glance. Stamp fabric. Repeat. Done. But once you’re there, you realize why people take block printing seriously. Alignment matters, drying time matters, and even how the dye sits on the fabric changes the result. The best part is that you’re not left to figure it out alone.
The workshop is designed as a hands-on, step-by-step session. It typically runs about 2 hours, and it’s offered at several time windows during the day (morning, midday, and late afternoon options). Since it’s private, your instruction stays more focused on your pace, your questions, and your technique.
One detail I appreciate for planning: you’ll use a mobile ticket, and it’s confirmed at booking time. The meeting point is in Jaipur at 88, Durga Ln, Hanuman Nagar Extension, Paschim Vihar, Vaishali Nagar (and the activity ends back there). If you’re using public transport, the location is meant to be convenient, which helps when you’re fitting a craft class into a busy sightseeing schedule.
From Wooden Block to Final Pattern: What the Workshop Actually Covers
You don’t just sit and watch a demo. You go through the process in the order that makes sense, starting with the heart of block printing: the wooden stamp.
Step 1: Carving the design on wood (the stamp becomes the tool)
You’ll see how a design is turned into a practical carving on wood. That carving is what controls everything later: where the ink lands, how sharp the edges look, and how much detail you can achieve. This part matters because it explains the difference between a quick print and a real block-printed pattern.
Even if you don’t memorize every technical detail, you’ll start noticing design logic right away. Patterns aren’t random; they’re built so they repeat cleanly across cloth.
Step 2: Preparing the fabric for printing
Before any color hits fabric, it needs to be set up. You’ll learn what’s happening with the fabric right before printing—how it’s readied so you can get consistent impressions from the blocks. This is one of those quiet steps that makes the difference between a print that looks intentional and one that looks like a craft experiment.


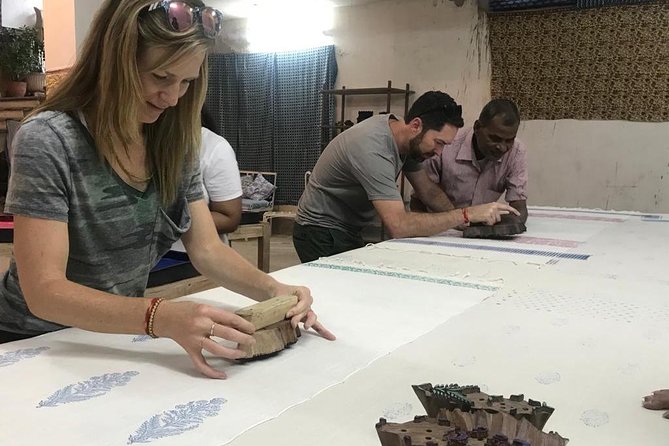
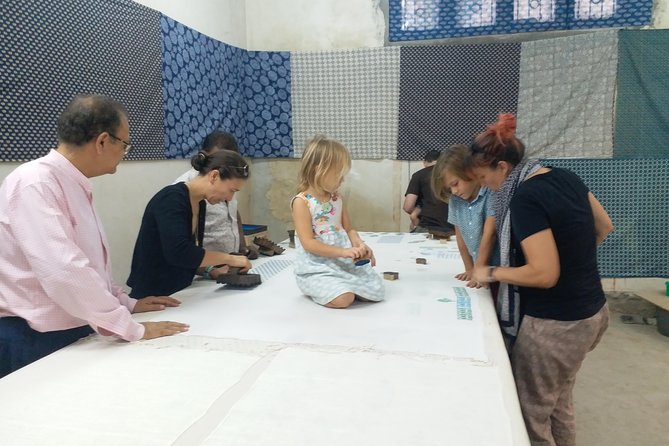
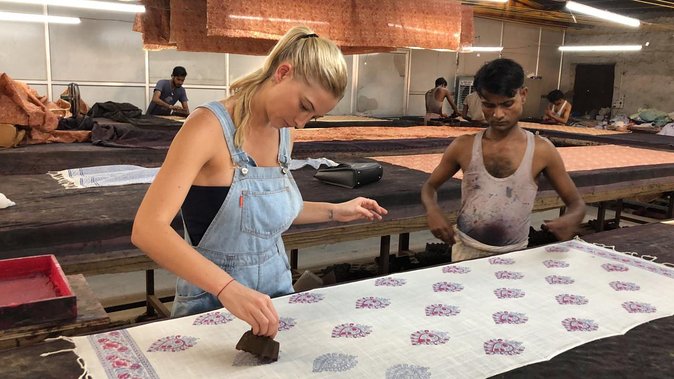
Step 3: The printing process (the part you’ll do yourself)
Once the groundwork is explained, you move into printing. You’ll be provided with cloth, dye colors, and the blocks. In other words, you’re not hunting materials or figuring out what to do next—you’re focused on the act of printing.
You’ll learn how to apply the block, how to press so you get full coverage, and how to keep the pattern consistent as you repeat the stamps. If you want a souvenir that feels earned, this is where you get it.
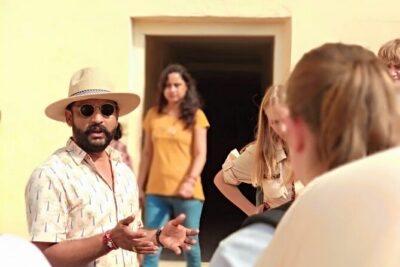
And the tone from the team is practical and encouraging. In feedback about the class, the instructor and crew are described as kind, patient, and cheerful. One name that comes up is Tina Kapoor Mam, along with mention of her family and team being welcoming and helpful. That matters, because you’ll be learning a physical craft where small corrections really help.
Color Making in Plain Steps: Natural Dyes You Can Understand
A lot of “craft experiences” show you the finished result and skip the hard parts. Here, color making is treated like part of the art, not an afterthought.
You’ll be shown the full way colors are prepared, with a demonstration of how dye is made and handled for printing. That’s valuable because block printing isn’t only about stamping; it’s also about how the dye behaves on fabric.
Here’s what this understanding does for you as a participant: it helps you predict what your print will look like before you commit the block to cloth. If the dye is mixed or prepared a certain way, the print can come out more even. If it’s handled carelessly, you may get uneven patches or less-defined lines.
Even though you’re not expected to become a dye chemist by the end, you’ll walk away knowing that color is controlled. It’s not magic. It’s procedure.
That’s also why the workshop can feel oddly satisfying. There’s a rhythm to it:
- prepare,
- print,
- check your impression,
- repeat carefully.
If you’ve been stressed from travel, this kind of structured making can be genuinely calming—an experience people associate with relaxing and feeling at home with the team.
Your Hands on the Blocks: Designing a Scarf That Looks Like You
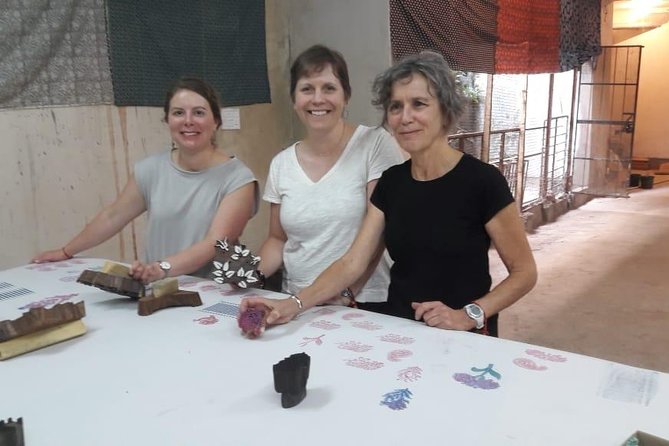
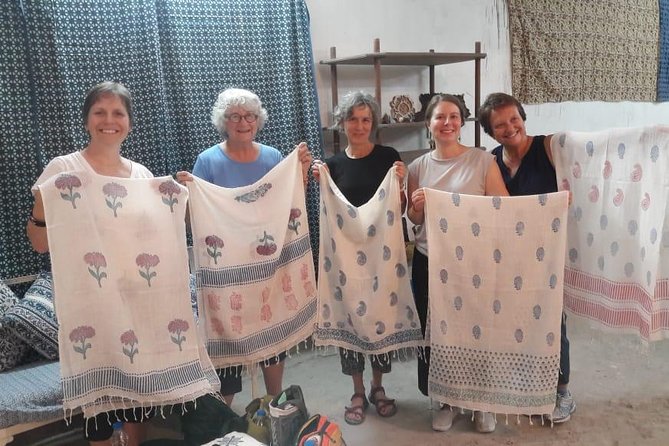
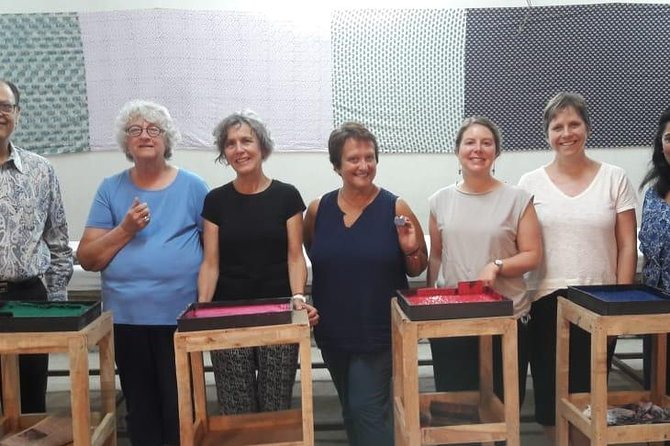
The workshop includes time where you actually print your own scarf using block stamps. You’re given the materials, and you’ll work with the instructor’s guidance to create a finished souvenir you can take home.
What you’ll likely do during your hands-on session
While the exact design approach can vary by class, the flow is usually:
- choose or follow a block pattern setup,
- apply dye to the block (with the method your instructor shows),
- stamp onto the fabric with consistent pressure,
- repeat to build the pattern across the scarf.
Because this is a private activity, you’re not sharing your instruction time with a big crowd. You’re more likely to get quick feedback if your alignment is off or if you’re pressing too lightly.
And you’ll get a tangible end product. Not a voucher. Not a partial craft. You keep the fabric you print, so you can wrap it, wear it, or display it later.
A small practical tip: don’t aim for perfection on the first stamp
This craft teaches you to learn by doing. Your first few prints often look rougher than what you’ll achieve after you’ve got the rhythm. It’s normal. In fact, it’s part of why the workshop is memorable.
If you’re traveling with a child, this can also be a fun family craft. One feedback story includes a partner and a 3-year-old enjoying the workshop and printing their own pieces, with the child coming away still talking about it after returning home. That suggests the team can help guide different ages through the printing steps.
Timing, Meeting Point, and How to Fit It Into Your Jaipur Day
The workshop runs about 2 hours, which is a smart length. It’s long enough to teach you something real, but short enough that you won’t feel like you lost half a day to “just a class.”
You’ll want to plan for one of the session windows. The class is offered:
- 9:00 AM – 11:00 AM
- 12:00 PM – 2:00 PM
- 3:00 PM – 5:00 PM
That means you can pair it with morning sightseeing or use it as a mid-afternoon activity when you might otherwise be looking for an indoor break.
Getting there
Your start point is 88, Durga Ln, Hanuman Nagar Extension, Paschim Vihar, Vaishali Nagar, Jaipur. It’s described as near public transportation, so you should be able to reach it without major hassle.
Also, the experience ends back at the meeting point. That makes logistics easier than a class that drops you elsewhere.
Price and Value: $36.29 for a Real Craft Outcome
The price is listed at $36.29 per person. On paper, that sounds modest for a private, two-hour class that includes both instruction and a finished wearable souvenir.
Here’s how I think about value for this kind of experience:
- You’re paying for time with an instructor, not just materials.
- You’re paying for process learning (carving, prep, dye making, printing).
- You’re paying for a souvenir you personally create and keep.
Because you’re taking home the fabric you print, you’re not relying on “maybe I’ll like the final product.” You’re creating it yourself. That makes the souvenir feel more like a keepsake than a shop purchase.
Also, the workshop is described as private, and reviews highlight personal attention and a friendly atmosphere. If you’re traveling solo, that one-on-one guidance can feel especially worthwhile—you get help right when you need it, instead of waiting your turn.
A possible tradeoff is that it’s weather-dependent. If conditions don’t cooperate, the class may be rescheduled or refunded. That’s worth factoring into your itinerary if you only have one day in Jaipur.
Who This Workshop Best Suits (And Who Might Want to Skip It)
This experience is a strong fit if you:
- want a hands-on souvenir you’ll actually use,
- enjoy crafts where you learn by doing,
- like understanding the process behind a traditional art form,
- want a low-stress activity that’s structured and guided.
It also seems to work well for family groups. Feedback includes a parent bringing a child, and the team supporting both a child and adults through printing.
You might consider skipping it if you’re looking for something purely visual and fast. This is a making class. You’ll focus on steps and repetition. If you’d rather just browse and photograph Jaipur crafts from a distance, you may prefer a workshop with more free observation time.
But if you like the idea of printing your own scarf and learning why block printing looks the way it does, this is a practical and satisfying choice.
Practical Tips for Getting the Best Result
Here are a few things that help you get a better scarf and a smoother experience, based on how workshops like this tend to work in practice.
- Go in with patience for repetition. Block printing often involves repeating the stamp several times to build a pattern. The results get better as you build consistency.
- Ask questions early. If you’re confused at the start, bring it up. It’s easier to fix technique when you’re still learning the first steps.
- Take a moment to inspect dye and impression. If the print looks too light or uneven, tell your instructor. Small adjustments help a lot.
- Treat your scarf gently after printing. You’ll likely want to avoid crushing it or smudging the work before it’s properly set and dry.
One more mindset shift: don’t chase perfect results. Your scarf will still be worth something because you made it through the full process, not because it matches an exact store sample.
Should You Book This Block-Printing Workshop in Jaipur?
Yes, you should book it if you want a hands-on Jaipur craft that ends with something real in your hands. The biggest strengths are the full process learning and the personal, friendly guidance—and your printed scarf is included as a take-home souvenir.
I’d especially recommend it if you’re the kind of traveler who likes to learn how things are made, not just what they look like. Carving the design idea, watching dye prep, and then stamping your own pattern is the kind of experience that sticks.
The only real reason to hesitate is if your schedule is too tight or you can’t handle weather-related rescheduling. If you can build in flexibility, this workshop is a smart, affordable way to experience Jaipur beyond monuments—through craft, color, and the satisfaction of making your own fabric.
FAQ
What will I make during the workshop?
You’ll design and print your own scarf using block stamps, and you can take the printed fabric home as your souvenir.
How long is the block-printing experience?
The experience lasts about 2 hours.
Is the activity private?
Yes. It’s listed as a private tour/activity, so only your group will participate.
What happens during the session?
You’ll learn the traditional block-printing process, including carving the design on wood, preparing fabric, understanding color making, and then trying the printing yourself with provided cloth, dyes, and blocks.
Where does the workshop start and end?
It starts at 88, Durga Ln, Hanuman Nagar Extension, Paschim Vihar, Vaishali Nagar, Jaipur, Rajasthan 302021 and ends back at the meeting point.
Are there specific time options for the class?
Yes. Sessions are offered at 9:00 AM–11:00 AM, 12:00 PM–2:00 PM, and 3:00 PM–5:00 PM (with dates spanning from 2019 onward through the listed end date). Confirmation is provided at booking time.